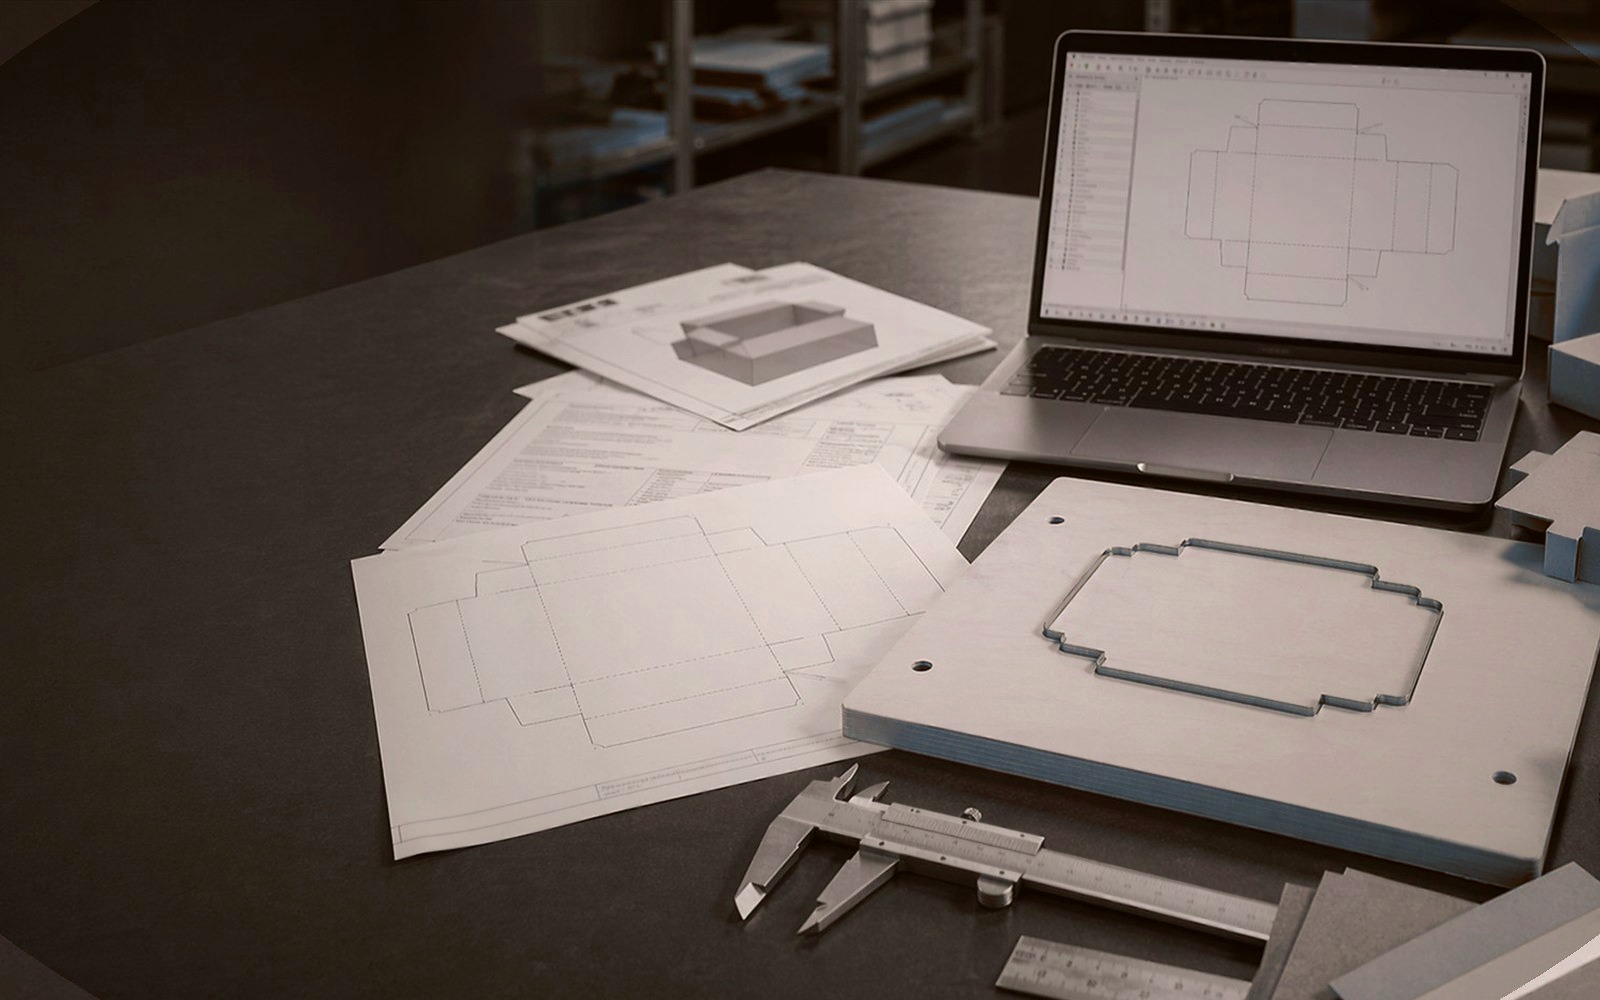
You have a product: a bottle, a jar, a device. What you need is the blank — the dieline — of the box that will wrap it. The dieline is the box’s flat cut-and-crease plan, and the die is made from it. A wrong crease allowance or a forgotten glue tab sends the whole die back to the start. In a box design and dieline service this blank is built from scratch, from the product dimensions. This guide walks through those steps in order.
From size to blank: width, length, height
The starting point of a blank is the product’s three dimensions: width, length and height. But the first decision is made right here: are these inside or outside dimensions? If the product seats inside the box, the inside dimension is taken and a clearance (usually 1–2 mm per side) is added between product and box; if the product is meant to fit snugly, the clearance is tightened. Confusing inside and outside dimensions is the most common and most expensive mistake.
The second dimension decision is material thickness. The thicker the board, the wider the outer faces become relative to the inside when the box is folded; that is why the same inside dimension gives a different blank for 2 mm micro-flute board than for 300 gsm coated board. As the panel widths of the blank are set, material thickness is accounted for at every fold point.
- First decision: inside or outside dimensions; clearance is added to match how the product seats.
- Confusing inside and outside dimensions is the most expensive dieline mistake.
- Material thickness is carried into every fold; thick board widens the panel.
Crease and glue allowances
Every fold in the blank is a crease line, and every crease line needs an allowance equal to the board thickness. As the board gets thicker, the crease allowance grows: on thin coated board it can stay under a millimetre, while on thick corrugated board you need to leave 2–4 mm of crease allowance per panel. If the allowance is too small the panels overlap or the corners push out when the box folds; if it is too large, gaps open between panels.
The glue tab (glue allowance) is the hidden but critical part of the blank. To close the box, a glue tab usually 12–18 mm wide is added to one panel; this tab bonds to the opposite panel with glue or double-sided tape. If the tab is too narrow the bond is weak, too wide and it shows on the visible face. Which panel the tab goes on is chosen by the print face and the fold direction.
- Every crease line needs an allowance matching board thickness; thick board grows it.
- The glue tab is usually 12–18 mm; a narrow tab bonds weakly, a wide one shows.
- The tab position is set by the print face and fold direction.
Layer separation: cut, crease, perforation
In a production-ready dieline the lines are not one colour. Cut lines, crease lines and any perforation lines are kept on separate layers in separate colours; a common convention is red (magenta) for cut, green or blue for crease, and a dashed line for perforation. Thanks to this separation, the die maker sees at a glance which line gets a cutting rule, which gets a creasing rule, and which gets a perforating rule.
If the layers get mixed the die is built wrong: a cutting rule placed on a crease line cuts the box in two along that line. That is why, before the blank is delivered, every line is checked to be on the correct layer and the file is supplied in a production-ready format (AI, vector PDF or DXF) with that layer structure preserved.
- Cut, crease and perforation are shown on separate layers in separate colours.
- Mixed layers build the die wrong; a rule on a crease cuts the box.
- The file is supplied as AI, vector PDF or DXF with the layer structure preserved.
Checking and moving to the die
When the blank is finished, the last step is an assembly check: the drawing is folded on screen or on a board sample to test whether the box actually closes. Whether the corners overlap, whether the lid seats and whether the glue tab lands on the right panel are all seen at this stage. Where possible, the first sample is folded from the real material and verified physically.
The verified blank goes straight to the die: the cut layer becomes the cutting rule line, the crease layer becomes the creasing rule, the perforation layer becomes the perforating rule. Because it is produced from the same file, blank and die match exactly; there is no dimensional drift between design and die, and reorders continue from the same file.
- The assembly check is done by folding on screen or on a board sample.
- Where possible the first sample is verified physically from the real material.
- Because the die comes from the same file, blank and die match exactly.
Quote details we clarify together
When the file, material, quantity and deadline are clear, the quote conversation moves faster and with less back-and-forth.
- Current product dimensions or a sample box
- Material type, gsm and quantity details
- Critical dimensions or production notes
- Deadline expectation and delivery preference